NEWFIRM Manual
Here we describe the NEWFIRM observing GUI and discuss other information relevant for observing.
Startup:
NEWFIRM Observing GUI
- Open VNC viewers [NEWFIRM Obs and NEWFIRM IRAF and NEWFIRM NICC (optional)]
- The NEWFIRM support scientist of Telescope Operations support staff will help
- Start NEWFIRM GUI in Obs VNC viewer


- Press "Start of Night"
- This should open the environmental cover.

- Check that environmental cover is open on the NEWFIRM NICC vncviewer. At present the environmental cover sensor is not working so the NEWFIRM Observing GUI always has the status "Closed".


- Turn on the detector power


- Open the filter tool

- Initialize the filters and close when done

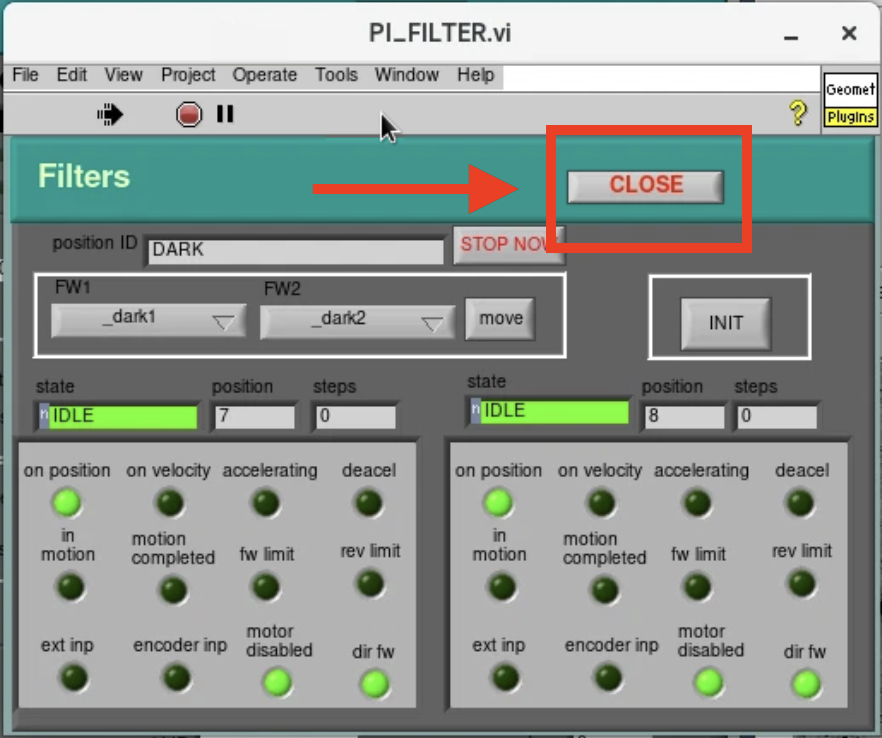
- Check that the current filter position is set to "DARK". Move filter position to "DARK" if the dark filter is not in position.


- Set Proposal ID (PropID)
- This will load the proposal PI and co-Is
- No images can be taken unless the PropID is set to a valid PropID

- Take a junk image to reset image counter/number
- The image counter does not reset to 1 at the beginning of the night
- Make sure dark filter is in place
- Under Exposure Control:
- Set Basename to "ajunk_"
- Set Title to "Junk"
- Set Exp. Time to "2.000"
- Set Repeats to "0"
- Set Coadds to "1"
- Set Fowler to "1"
- Set Sequence to "1"; This must be the last step.
- Click "Expose"
- The image counter will now be reset and calibration data will start with image number *0002*

NEWFIRM IRAF Interface
- Open NEWFIRM IRAF VNC viewer
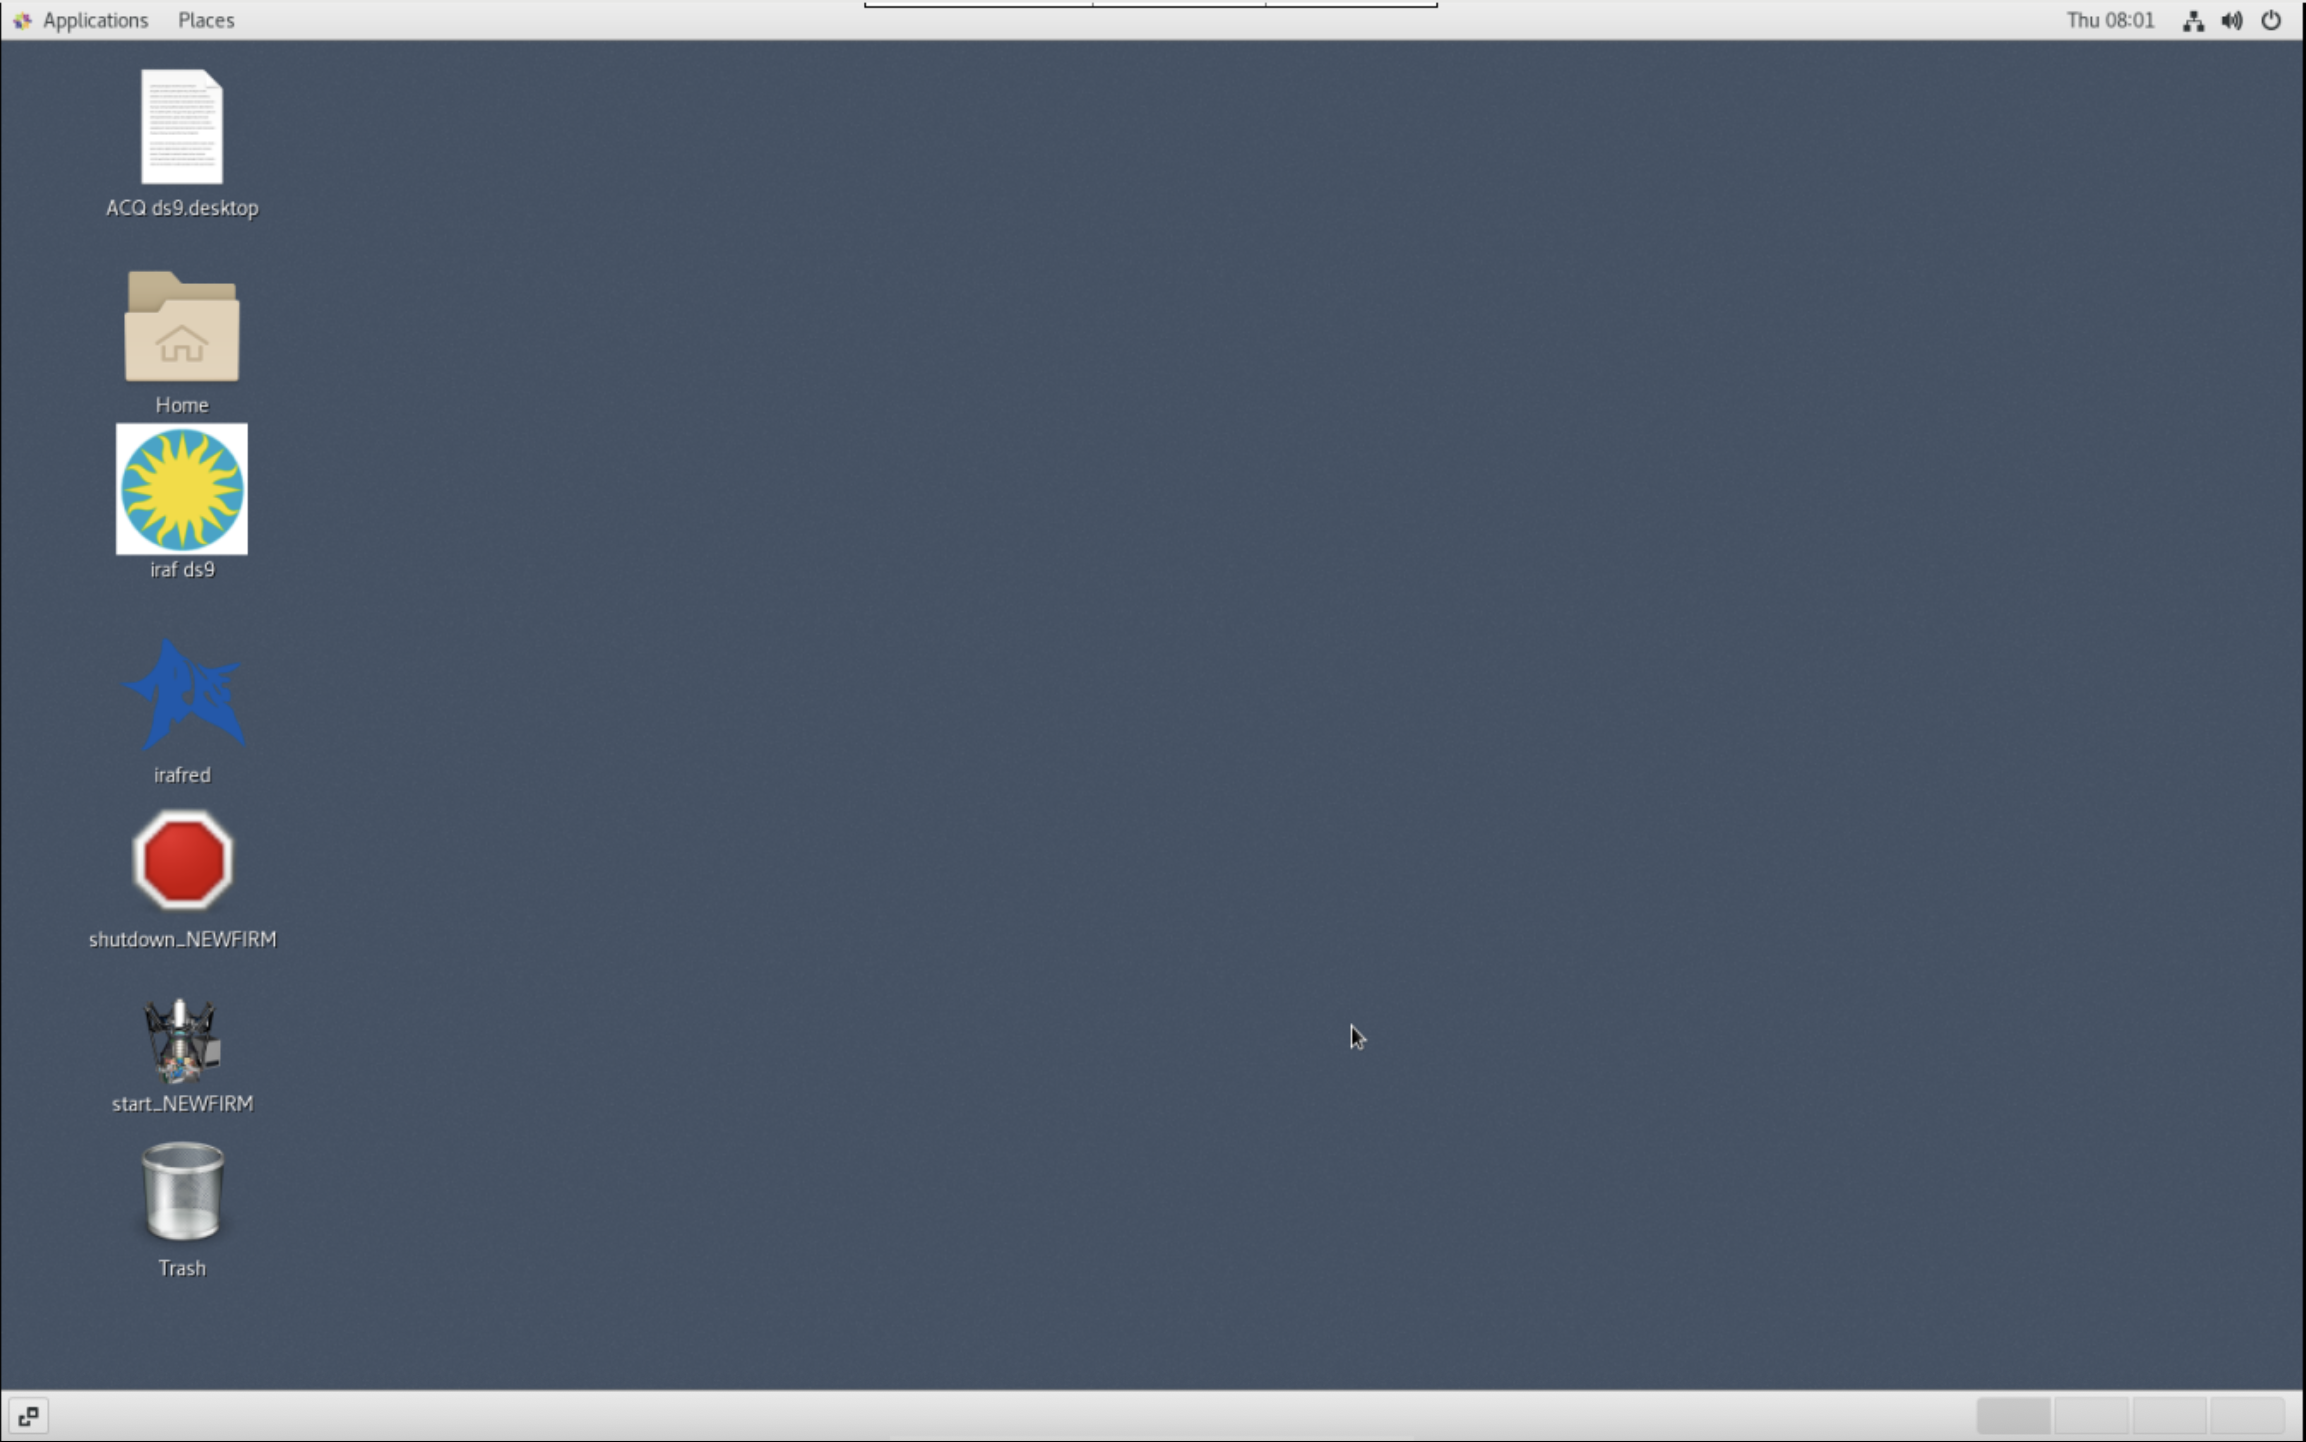
- Start IRAF window by clicking on the IRAF icon and click open


- The IRAF terminal should now be on your screen.

-
Open the IRAF ds9 window


- The ds9 window should now be on the screen
-
Change directory to the current data directory:
"cd /data/UTYYYYMMDD"
-
Star the IRAF mscred and nf packages


Daytime Calibrations
Dome Flats
- Change the filter from "DARK" to filter of the first flat to take. In general, this is "JX".
- Select the filter from the menu and click the "FILTER MOVE" button.


- After completion, the "JX" filter will be in position.

- Open the "FLATS" tool

- This opens the "Flats" dialog box where predefined scripts to take the flats exist. Pre-existing scripts to obtain a sequence of flats can be found by clicking the folder icon.

- Choose the flat script you want to run and click "OK".

- Click "Load" to load the script and "GO" to execute the script.

- Press "QUIT" when the dome flat sequence is complete.
Details for Advanced Observers
The configuration files to take flats are located in the directory "/home/newfirm/flats/" and should serve most purposes. Custom flat configuration files can be made. As is customary for NIR observations, flats are taken with the dome lamps turned "On" and "Off". The default configuration file takes flats for the following filters: JX, HX, KXs, 1644, 2124, and 2168. The currently used values for the exposure times and lamp intensities are given in a table below. The format of the configuration of a sequence for the JX filter is:
[1]
title="Dflat J On"
exptime=15.000
nimages=11
fowler=1
coadds=1
filter="JX"
lamp="QUARTZ"
intensity=100.000000
[2]
title="Dflat J Off"
exptime=15.000
nimages=11
fowler=1
coadds=1
filter="JX"
lamp="QUARTZ"
intensity=0.000000
The "exptime" parameter determines the exposure time of the image. The "nimages" parameter controls how many images are taken. The "filter" parameter selects the filter and the "intensity" parameter sets the dome lamp intensity. The permitted filter names are in the table below. The number of "fowler" samples and "coadds" should be "1". The custom configuration file can be uploaded and used to take flats as described above. It is not recommended taking flats directly using the GUI.
|
Flat Name |
Exposure Time (s) |
Lamp Intensity (%) |
Expected Counts (DN) |
| JX | 15 | 100 | ~5600 |
| JX | 15 | 0 | ~750 |
| HX | 3 | 100 | ~6900 |
| HX | 3 | 0 | ~200 |
| KXs | 2 | 100 | ~6300 |
| KXs | 2 | 0 | ~3000 |
| J1 | 10 | 100 | ~6300 |
| J1 | 10 | 0 | ~450 |
| 1066 | 480 | 100 | ~4900 |
| 1066 | 480 | 0 | ~10 |
| 1187 | 240 | 100 | ~4400 |
| 1187 | 240 | 0 | ~150 |
| 1644 | 45 | 100 | ~6300 |
| 1644 | 45 | 0 | ~50 |
| 2096 | 30 | 100 | ~4900 |
| 2096 | 30 | 0 | ~1200 |
| 2124 | 20 | 100 | ~4100 |
| 2124 | 20 | 0 | ~1600 |
| 2168 | 20 | 100 | ~4400 |
| 2168 | 20 | 0 | ~2200 |
Darks
- Change the filter to "DARK" by selecting the DARK filter in the menu and click "FILTER MOVE". Wait until the DARK filter is in position.


- Open the "DARKS" tool.

- This opens the DARKS dialog box where you can choose the dark script to run. Pre-existing scripts to obtain a sequence of darks can be found by clicking the folder icon.

- Choose the dark script you want to run and click "OK".

- Click "Load" button to load the script and "GO" to execute the script.

- Press "QUIT" when the dark sequence is complete.
Details for Advanced Observers
Telescope Pointing
Telescope Focus
Observing
Shutdown
Updated on May 17, 2025, 5:31 am